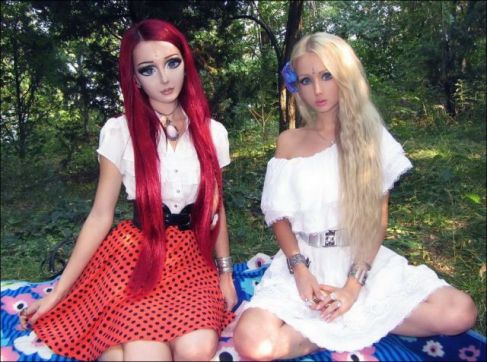
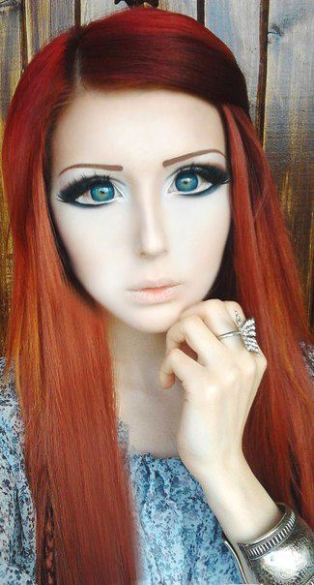
I love the living doll look. It’s very cute and princess-like. There are several girls who have gotten quite famous just from looking like a doll, some of them have gone as far as getting surgery to look more doll-like. However, you do not have to get surgery or have a “perfect” face or body to do the look yourself, there are little tips and tricks that you can do to have fun with the look without doing anything potentially dangerous all while making the most of the features you do have. It will take practice to perfect your technique and to learn what works best with your own face.
(Click on pictures for their source)
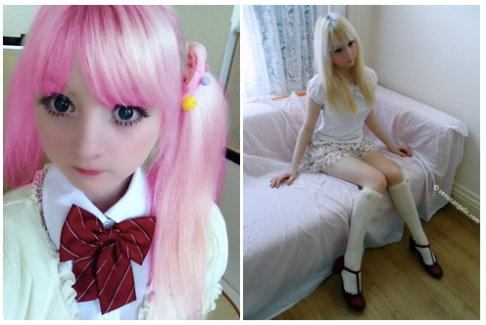
1) Circle Lenses
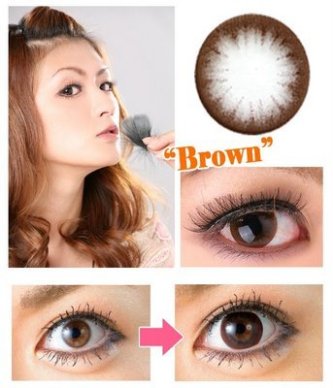
Circle lenses make your eyes look much bigger, and therefore more doll-like. It’s probably the fastest and most exaggerated way to make your eyes look bigger (except perhaps editing your photos.) Be careful that you are getting genuine lenses from a reputable brand (such as Geo) and then be sure to follow their guidelines on caring for them and wearing them. If you don’t you could damage your eyes! Which is definitely not worth it.
2) Hair extensions
Lots of the living dolls you do see have very long hair, it’s not necessary but lots of dolls do have longer hair (think Barbie, porcelain dolls etc.) Long hair is definitely not essential, but it will probably be easier to look doll-like with long hair rather than short. An easy way to get long hair is with clip in extensions, which cause less damage than more long term extensions. You can get some long extensions cheaply on eBay if you find the right seller.
3) Make-Up
This is probably responsible for the majority of the look. The general idea is to make you eyes look bigger, the nose smaller, the cheeks rosier and to get pouty but not overly-exaggerated lips. You can get make-up tips from other fashions that use similar make-up but adapt it to look more dolly if you can’t find living doll tutorials. Eg. Try looking up Gyaru make up. False eyelashes are used often, including bottom lashes. Light colour eyeshadow is used to draw attention to the eye and make it look larger, including using a light eye pencil to extend the waterline slightly further down your face. Contouring is used on the nose and other parts of the face. Using pinky colours for blusher and lips is very common, red lips are still used but less so. Eyebrows are kept well-groomed.
4) Photo editing
If you are ok with using this you can forget about make-up, circle lenses, everything. Just take a photo and edit it to the point you look like a doll. I personally don’t like this approach because it means you stop looking like yourself, and at some point it just starts looking scary. Plus you will still not look dolly in real life. If this is the approach you want, try looking into the photo editor XiuXiu Meitu. It’s free, easy to use and works well for getting a doll-like look.
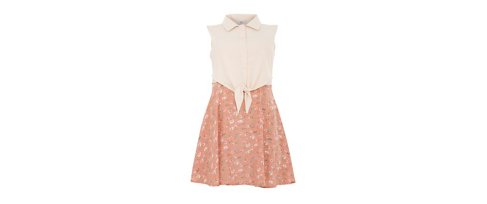
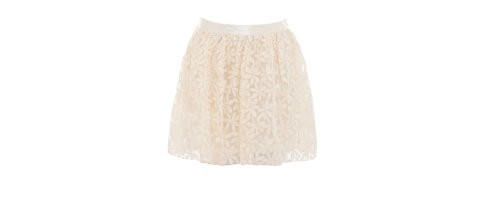
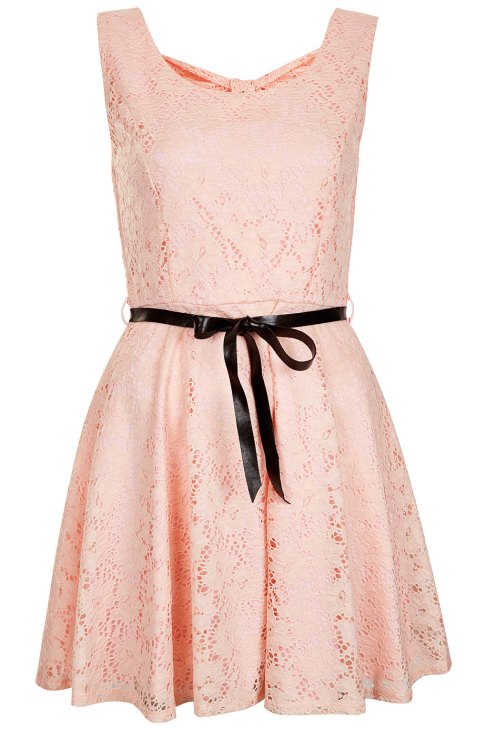
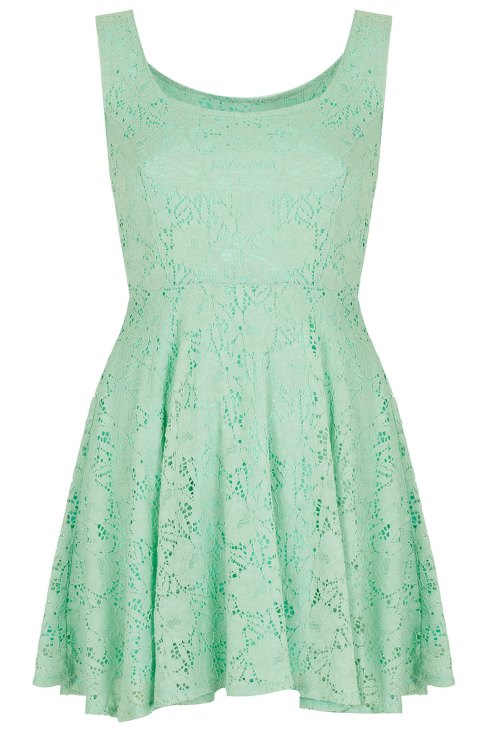
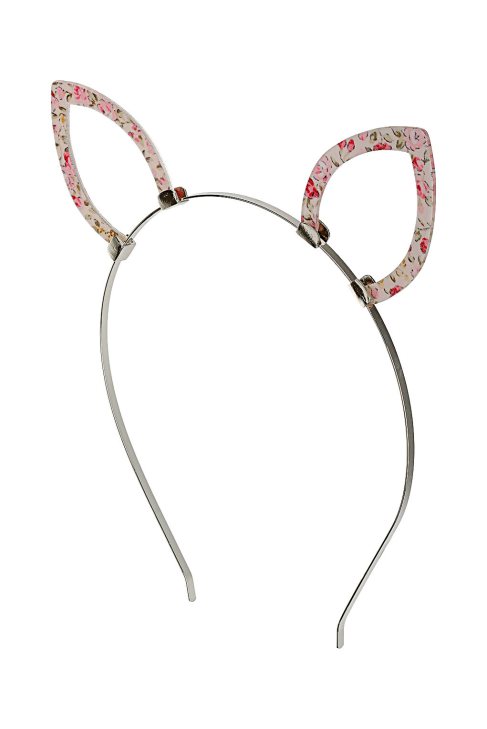
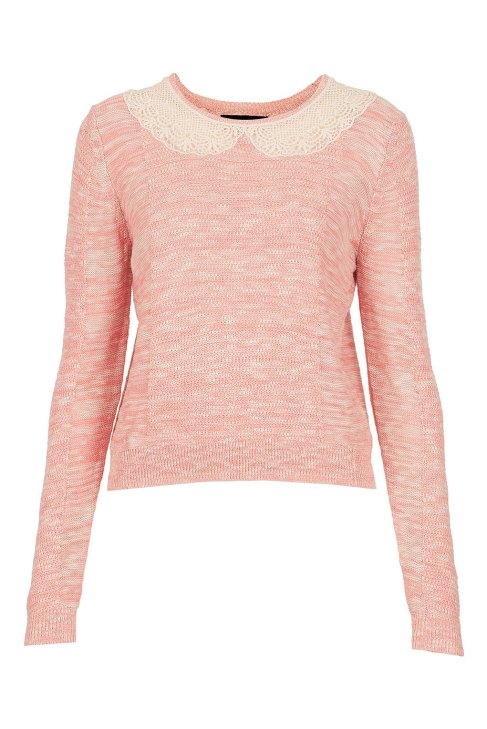
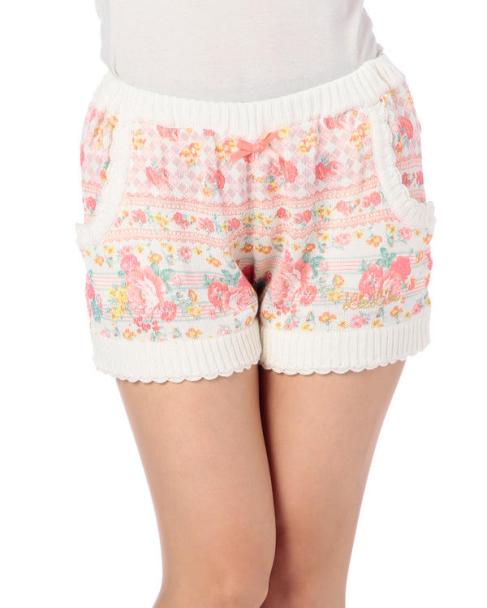
5) Clothing
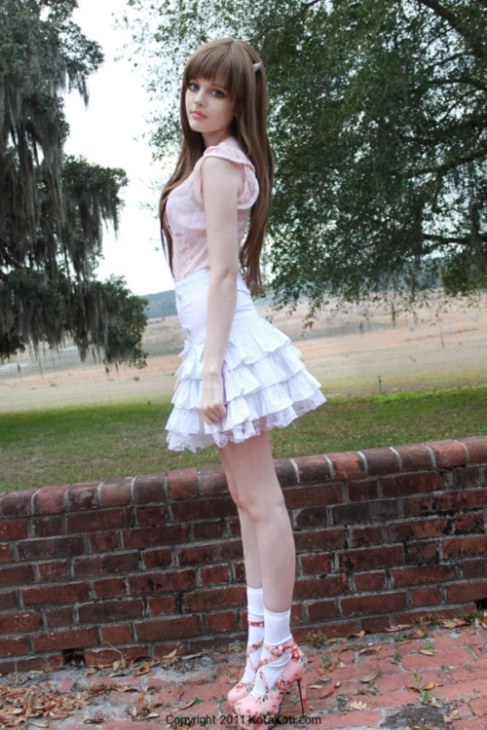
There are no rules in outfits when getting a dolly look. It depends entirely on what type of doll you wish to look like. In general, try to look well-groomed and neat though. Even if you are wearing tracksuit bottoms and a top, if it looks neat you can still look like a doll. For a porcelain doll look, girly clothes are more popular. Such as florals, lace and bows.
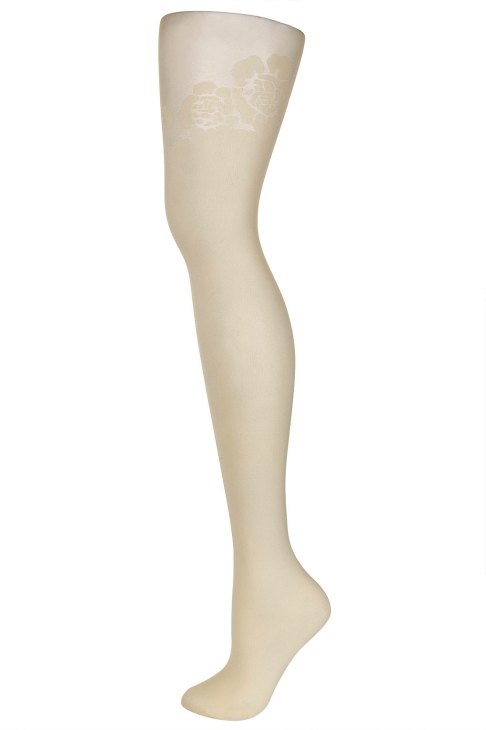
6) The Body
Most famous living dolls are quite skinny, and some have also had surgery to attain their body shapes. It isn’t necessary to have a “perfect” body to get the dolly look. Just make the most of what you have. Wear clothes that flatter your figure, and if you really want to make an impact try wearing a steel-boned corset under your clothing to give you a pulled-in hourglass waist like Barbie.
*~*Hope you have enjoyed this short guide! Have fun trying out this look!*~*